Welcome to Our Travel Agency!




Travel Guide
The itinerary says “in-depth tour,” but once you arrive, you can only follow the group, walking and taking photos as you go: just as you find the right angle, it is time to regroup, and by evening you are already on the bus back. To judge whether a photography tour allows enough time for shooting, do not look only at how many hours are spent at a scenic site. Consider how much time remains for independent photography after deducting transportation, queues, walking, and other activities, and whether that time falls within the lighting window needed for your intended shots.
After receiving the itinerary, first mark the places you most want to photograph, then check each one against the following details: “time of arrival at the specific shooting location, uninterrupted shooting time, departure time, and flexibility to adjust if the weather changes.” If the itinerary only lists attraction names without these details, that is not enough to judge whether you will have a satisfying photography experience.
Break “sightseeing time” down into shooting time you can actually use
“Half a day at a scenic area” may start counting as soon as you get off at the parking lot, and include ticket checks, shuttle transfers, uphill walks, guided explanations, and returning to the meeting point. For photography, the entrance to a scenic area is not a shooting location, and reaching a viewing platform does not necessarily mean you can set up your camera right away.
You can work it out as follows:
Available independent shooting time = stated visiting time − time to enter, exit, and travel within the area − queues and necessary walking − non-photography activities − time reserved for regrouping.
“Non-photography activities” mainly refers to meals and group activities that cannot take place at the same time as photography. If there are worthwhile subjects to photograph along the way, there is no need to deduct all walking time; however, calculate that separately from uninterrupted shooting time at a fixed location.
For example, suppose a scenic area is listed as a three-hour stop, with 70 minutes in total for shuttle transfers and walking, 20 minutes for ticket checks and queues, 30 minutes for a group briefing, and a 20-minute regrouping buffer. That leaves just 40 minutes. This is only a calculation example and does not represent the actual time required at any scenic area, but it illustrates the significant difference between “a three-hour stop” and “three hours of free time for photography.”
Also ask whether the free time is continuous. Even if the total time is substantial, regrouping every few minutes makes it difficult to wait for people to clear the scene, adjust your composition, or take long exposures.
To decide whether there is enough time, first clarify what you want to photograph
A trip for vacation photos has different itinerary requirements from one built around waiting for a specific shot. Rather than asking “How much time is enough here?”, first tell the organizer what you want to photograph, then check whether the itinerary provides the necessary conditions.
For example, if you want to photograph the relationship between the architecture and its surroundings from a particular direction at the Longmen Grottoes, simply seeing “half-day tour of the Longmen Grottoes” is not enough. Likewise, if you want to photograph the mountain scenery at Laojun Mountain, you cannot judge from “free time at the summit” alone. For current opening hours, shuttle arrangements, and equipment-use rules, refer to the actual notices and confirmed information available at the time of travel.
Check the lighting schedule: arriving at a scenic area does not mean you will catch the shot
An itinerary that says “arrive in the afternoon” may be sufficient for ordinary sightseeing, but it is too vague for photography. Ask further: What time will you reach the parking lot? What time can you get to the target location? Will you still need to queue, find a shooting spot, and prepare your equipment after arriving?
First identify the shooting window, then work backward to determine when to reach the shooting location, enter the scenic area, and set out. Sunrise and sunset times vary by date, and shadows cast by mountains and buildings also affect the actual light, so the same timetable cannot be used throughout the year. The golden hour is not the only option for every subject; what matters is whether the schedule suits what you want to photograph.
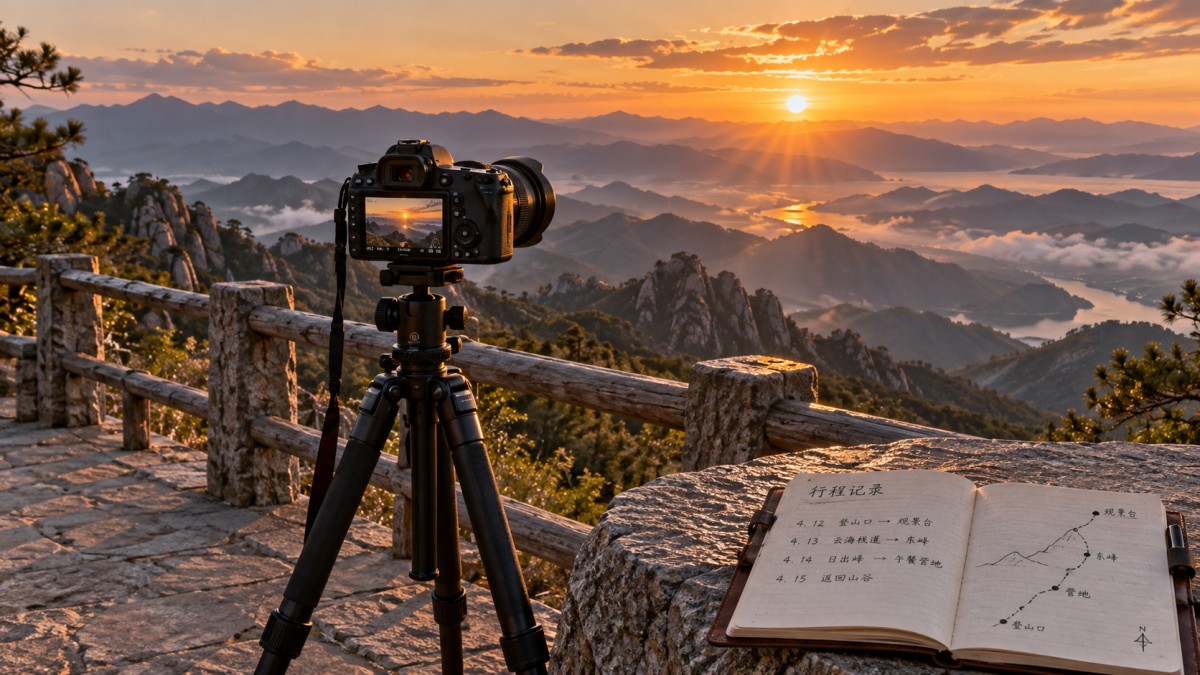
Check for two key conflicts: first, the ideal lighting window falls during a transfer or meal; second, you have to leave for the next attraction just as conditions become suitable for photography. If you also want to shoot blue-hour scenes after sunset, the itinerary needs extra time; do not treat “sunset is over” as meaning “photography is over.”
Transfers and accommodation determine whether you can shoot at ease in the morning and evening
The driving time shown on a map usually cannot be taken as the total transfer time for a group. Check-out, loading luggage, getting on and off the vehicle, the distance from the parking lot to the entrance, and necessary rest stops along the way should all be factored into the schedule. This is especially important when visiting several cities or mountain attractions in one day: even a slight delay in the first leg may cut into the day’s most important shooting window.
- Check the accommodation location: Do not look only at the hotel’s rating; check how accessible the next day’s shooting location actually is. “Staying near the scenic area” does not necessarily mean you can walk to the shooting location.
- Check the first and last transport services: If your plans involve a cable car or shuttle bus, confirm that its operating hours cover your photography schedule. Do not extend your shoot at the risk of missing the last service.
- Identify each day’s priorities: Listing several places in one day is not necessarily unreasonable, but make clear which location will have a full shooting session and which are only brief stops along the way.
If you mainly take casual snapshots, you may be comfortable with more transfers. For a themed photography project, it is more suitable to visit fewer places and stay longer, or to shoot in the same area under different lighting conditions.
Before booking, turn vague descriptions into arrangements you can confirm
Send the organizer your two or three most important photography goals and ask them to specify in the itinerary the approximate time of arrival at each shooting location, how long you can stay continuously, when you must leave, and which opening-hour and transportation conditions these arrangements depend on. A vague promise that “there will be plenty of time” is less useful than a clear distinction between sightseeing time and independent shooting time.
You should also find out which locations can be dropped, whether the order of photography can be changed, and whether there are feasible alternatives in the event of rain, transport delays, or temporary closure of a target area. “Flexible arrangements” should specify the scope for changes, rather than leaving you to discover on site that none of the activities can be moved.
When making your final choice, mark plans lacking information about timing as “pending confirmation,” and plans where the key shooting window conflicts with transportation arrangements as “needs revision.” If the organizer cannot explain how long you can stay at key shooting locations, do not assume that a tour is right for your photography goals based solely on labels such as “photography tour” or “in-depth tour.”
Your 1:1 travel consultant will respond within 1 business day
How to plan your trip
- China Tourism Academy Releases Report on Autumn Trends in China's Domestic Customized Tour Market
- Visiting China for the First Time: How Many Cities Should You Include in a 15-Day Grand Tour?
- Is a geology exploration tour suitable for elementary school students?
- Is it worth hiring a guide for a visit to the Terracotta Army?
- Hebei Launches 5 “Trendy Hebei” Signature Tour Routes, Standardizing Inbound Tourism Services
Monthly travel guide
- Luoyang launches the “Autumn Charm of the Divine Capital” tourism promotion to build anticipation for winter travel
- Typhoon “White Dolphin” Forces Henan Scenic Areas to Close, Putting Summer Ground-Handling Services Under Pressure
- RCEP Implementing Rules for Indonesia Take Effect: Zero Tariffs for Cultural and Tourism Services Alongside Strict Customer Service Requirements
- Saudi Arabia’s New SASO Regulations Take Effect: Taqat Certification Required Before Chinese-Language Cultural Tourism Services Can Access Visit Saudi
- Zhengzhou Launches a Dedicated LCL Shipping Route for Cultural and Tourism Materials, Cutting Freight Costs by 18%
- Luoyang Cold Chain Intensification: Cultural and Creative Exports Delivered in 9 Days
- Expedited Pre-Approval for Group Visas to Three Southeast Asian Countries
- Tightening air freight capacity at Zhengzhou Airport delays the delivery of cultural and tourism materials
- Vietnam's New Regulations on Bus Monitoring Requirements for Group Tours
- Saudi SAMA New Regulations on Travel Liability Insurance Compliance Preparation
- Japanese tourists' new regulations for entering Henan local transport vehicles
- Wai Gao Qiao Wen Travel customs bonded warehouse summer group equipment fast lane
Popular destinations
- How should time for altitude acclimatization be planned for a Mount Siguniang and Bipenggou tour?
- How can you tell from an itinerary whether enough time has been set aside for photography?
- For a bilingual guide on a Grand China tour, should you choose full-tour accompaniment or service in separate segments?
- How can you plan a high-speed rail route for a panoramic tour of China without backtracking?
- How can you verify hotel check-in eligibility in advance for inbound tours covering all of China?
Why choose us

High cost-performance and transparent experience
Offer astonishing low prices without hidden tourism traps, enabling travelers to explore at lower costs while avoiding unnecessary spending loopholes, ensuring transparent consumption.

Personalization and dedicated service
Support 100% free customization, paired with one-on-one expert service, crafting exclusive itineraries based on travelers' specific needs, while providing professional guidance to enhance the personalization and professionalism of the journey.

Premium itinerary planning
Compact yet rich itineraries allow travelers to experience more within limited time; simultaneously, carefully selected hotels in prime locations provide convenient lodging conditions, overall enhancing travel comfort and experience.